5 Ways to Lower Your Energy Bill
High energy bills can strain your budget and leave you asking the question: “Where is all that energy going?”. Luckily, there are steps you can take to identify these issues and make your home more energy efficient. Here are 5 ways to lower your energy bill.
Identifying the Problem
Before you can reduce your energy bill, it is important to understand why it is so high to begin with. Many factors contribute to high energy usage:
- Poor Insulation: poor insulation in your home can result in heat loss during the winter and heat gain during the summer, causing your heating and cooling systems to work harder and consume more energy.
- Old Appliances: Outdated appliances, such as refrigerators, dishwashers, water heaters, and especially your heating and cooling systems are less energy-efficient than newer models and can contribute to high energy bills.
- Air Leaks: Drafty windows, doors, and gaps in walls or ceilings allow conditioned air to escape and outdoor air to come into your home, leading to increased energy usage.
- Overuse of Electronics: Leaving electronic devices, lights, and appliances on when not in use can waste energy and raise your electricity bill.
- Inefficient Lighting: Traditional incandescent light bulbs consume more energy and generate more heat than energy-efficient alternatives like
LEDs or CFLs.

Lowering Your Energy Bill
Below are some ways to help you lower your energy consumption and save money:
1. Improve Home Insulation
- Seal air leaks around windows, doors, and other openings with weatherstripping or caulking.
- Consult a professional inspect your HVAC Systems for air leaks
2. Upgrade to Energy-Efficient Appliances
- Replace old appliances with energy efficient models. High-efficiency inverter-driven heating and cooling equipment are the future of HVAC.
- Choose energy-efficient settings on your appliances, such as using cold water for laundry and running the dishwasher only when it is full.
3. Practice Energy-Saving Habits
- Turn off lights, electronics, and appliances when not in use.
- Use a programmable thermostat to adjust temperature settings based on your schedule, saving you energy when you're away from home. However, it’s important to keep in mind that during extreme outdoor temperatures, your HVAC system may not be able to “catch up” to the desired setpoint for several hours, maybe not until the middle of the night.
4. Invest in Energy-Efficient Lighting
- Replace incandescent bulbs with energy-efficient LEDs or CFLs, which use less energy and last longer.
- Take advantage of natural light during the day by opening curtains or blinds and minimize artificial lighting whenever possible.
5. Schedule Regular HVAC Maintenance
- Keep your heating and cooling systems running efficiently by scheduling annual maintenance with a qualified HVAC technician.
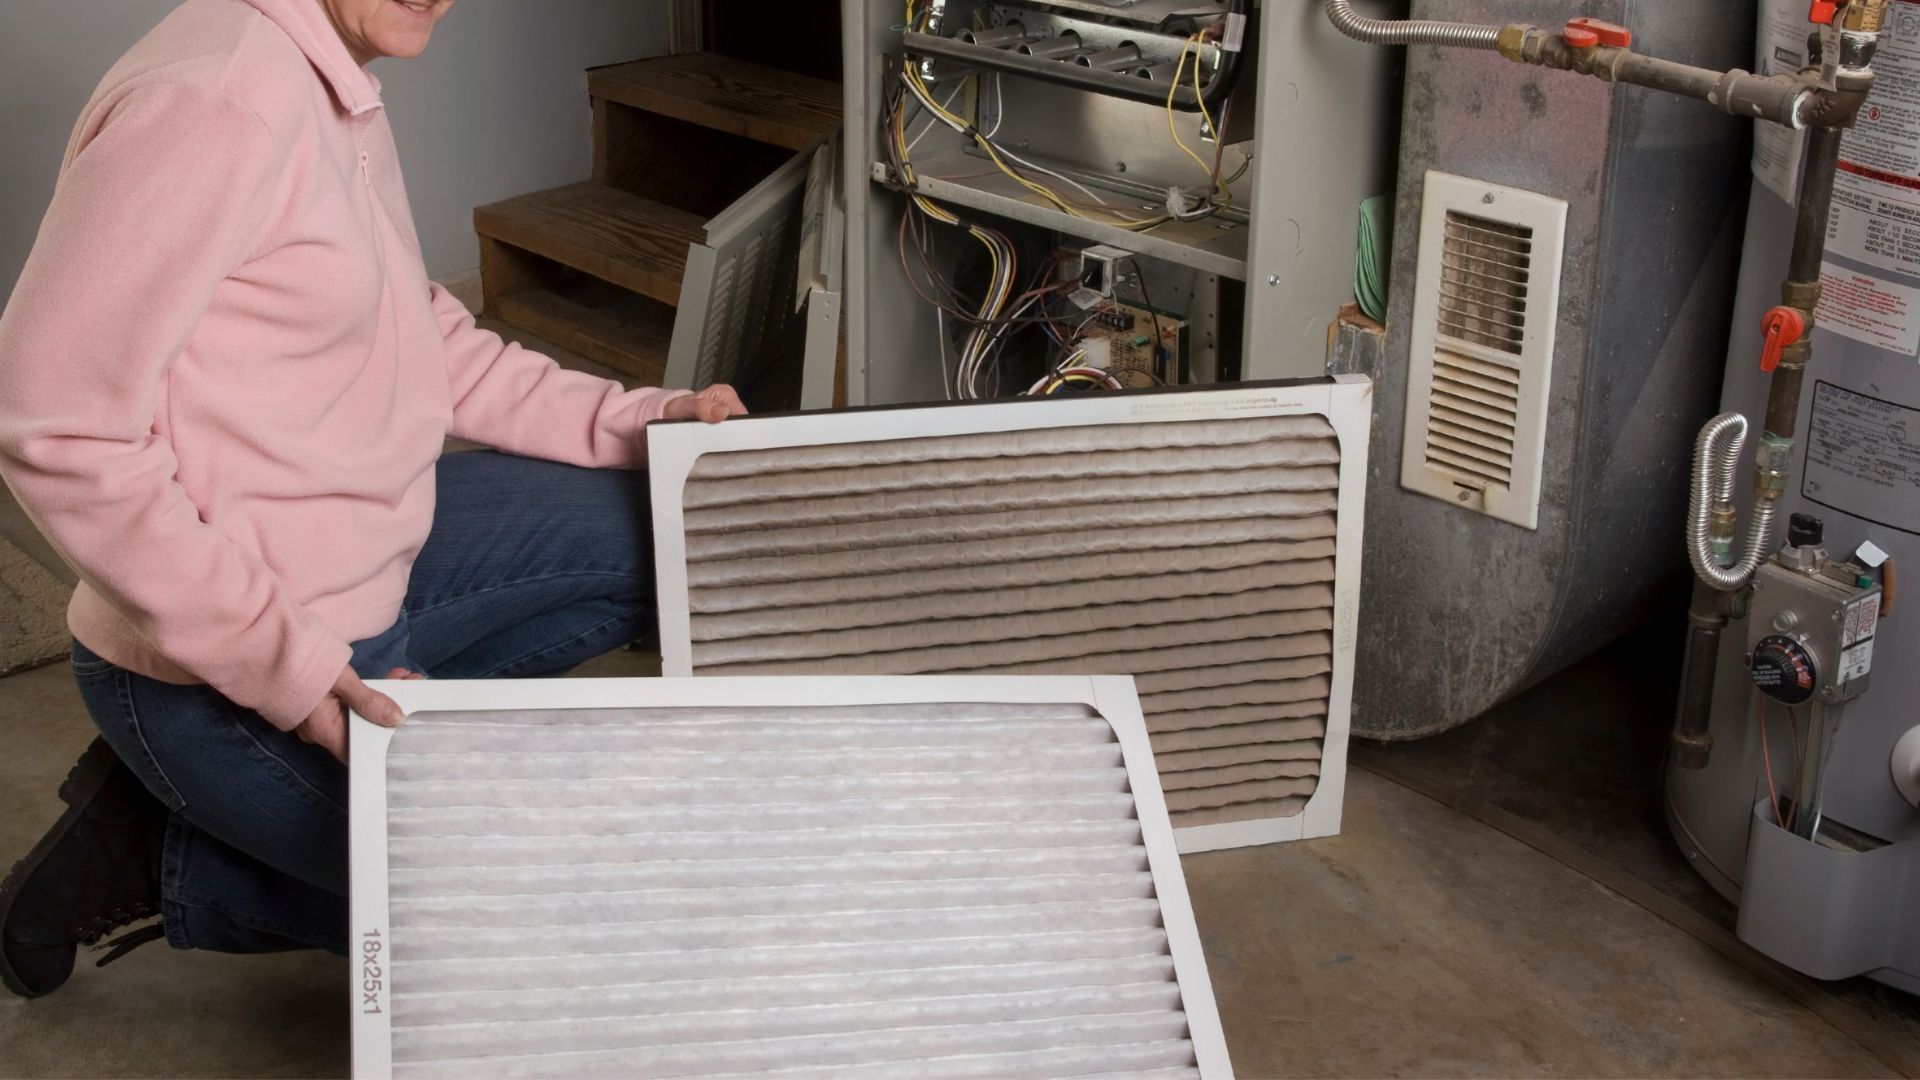
- Replace air filters regularly to ensure proper airflow and maximize energy efficiency.
What We Learned
High energy bills can be a source of frustration for homeowners, but with the right strategies, you can take control of your energy consumption and lower your monthly expenses. Modern HVAC Systems offer better airflow and improved energy efficiency, creating a more comfortable living environment. If you are in Lincoln, Nebraska or the surrounding area,
contact Custom Cooling and Heating for a consultation and start reducing your energy consumption today.
Read our latest articles

Get Your Free Estimate & Schedule Your Installation!
Want a new System?
We offer a free, no-obligation quote for your new installation!
Need a Repair?
Schedule a convenient fix with our local technicians today!
Serving Lincoln and surrounding areas since 1982, Custom Cooling & Heating has been a trusted name in home comfort for generations.